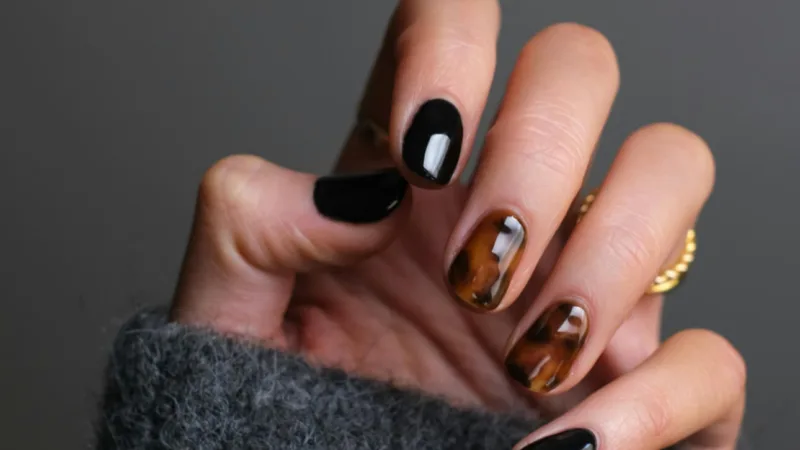
Are Gel Manicures Worth the Expense?
Gel manicures are a popular way to glam up your nails using a special kind of polish and a UV or LED lamp. While nail maintenance can be costly, you don’t have to live like a queen to feel like one. Gel manicures can cost as high as $120, but also as low as $30.
Tips for saving on gel treatments
There are a couple easy tips that can help you save on your tips, including making sure your technician earned his or her tip. Perhaps the best option of all is to check deal sites for local gel nail deals, where you can sometimes find as much as 50% off a gel nail service. Some nail salons offer package deals at a discounted price per treatment. Other options include going to a less lavish nail salon or doing an at home removal of your gels.
When you are DIY-ing the removal of your gels, be sure to follow these steps to ensure absolute safety:
- Purchase one hundred percent acetone or gel remover at a beauty shop. Nail technicians seem to prefer gel polish remover as it breaks the gel down faster.
- Soak a cotton ball with the remover.
- Place the cotton ball on top of your nails.
- Wrap each nail in tinfoil and wrap your hands in a towel. Don’t be afraid to bring the heat! A hot wash cloth helps the gel flake off faster.
- For fifteen minutes to an hour sit back, relax, binge watch your favorite TV series and let the remover work its magic.

Costs of gel removal
Getting gel nails removed can cost anywhere from $10 to $20, so you do save a little money by doing them at home. However, going to the salon is a much safer way to go, but only if your nail technician knows what he or she is doing. If you aren’t doing the at home remedy, pay extra careful attention to the way your manicurist removes your gels. Your nails deserve to be treated like the queen they belong to, so no one should be scraping them destructively. Don’t worry you and your nails can breathe as the concept that gels suffocate your nails is actually a myth. As lively as your new nails look, they’re actually dead to begin with so covering them up won’t affect their ability to “breathe”.
The only reason gels weaken your nails is if the removal process is rough, which is why you might want to steer your gaze away from your nail salon’s TV and focus on how the technician in front of you is removing your gels. If he or she does mess up your nails, that might be more nail money on your end.
Getting the most of your Mani or Pedi
Mixing things up is the best way to get through life but not when it comes to gel nails. Make sure your nail technician sticks to the same manufacturer’s primer, base, color and top coat. If you mix products you risk product breakdown and premature lifting, which can lead nail damage. And though everyone loves a nice hand massage, be sure your nail technician is avoiding lotions, oils or water application to your nails before applying the gel. This will help your nails last longer. In other words, the less wet, the better! Additionally, by having your technician apply three thin coats, instead of two thick coats to your nails, your gels will stay stunning for a longer period of time. Another tip for your tips is to have your technician try sealing the free edge with only base coat and top coat instead of color. This technique not only makes your nails feel stronger, but it helps the gel last much longer!
More costs to consider than just money
Another way to ensure healthy, thriving gel nails is to use coats that promise healthier nails like OPI’s GelColor ProHealth Base, or Top Coat. However, you are sacrificing bucks for healthier nails, as these polishes do cost a bit more. If you’re going to get gels, it’s definitely a commitment as they need to be filled every two to three weeks and re-balanced every four to five weeks. However, getting gels is far more than just a time or money commitment. It’s a commitment to yourself, which though this does elicit extra time for nail management, its a commitment to be the fly-ist, most flawless version of you, you can be.


